KKevin T.Verified Buyer
Item: 1x Trimmer
Kitchen cabinet refacing. Applied edge banding to 40 cabinet faces and this trimmer was the best investment I made on the whole job. Cuts clean and doesn't tear up the substrate.
2 weeks agoYour cart is empty
Add items to get started
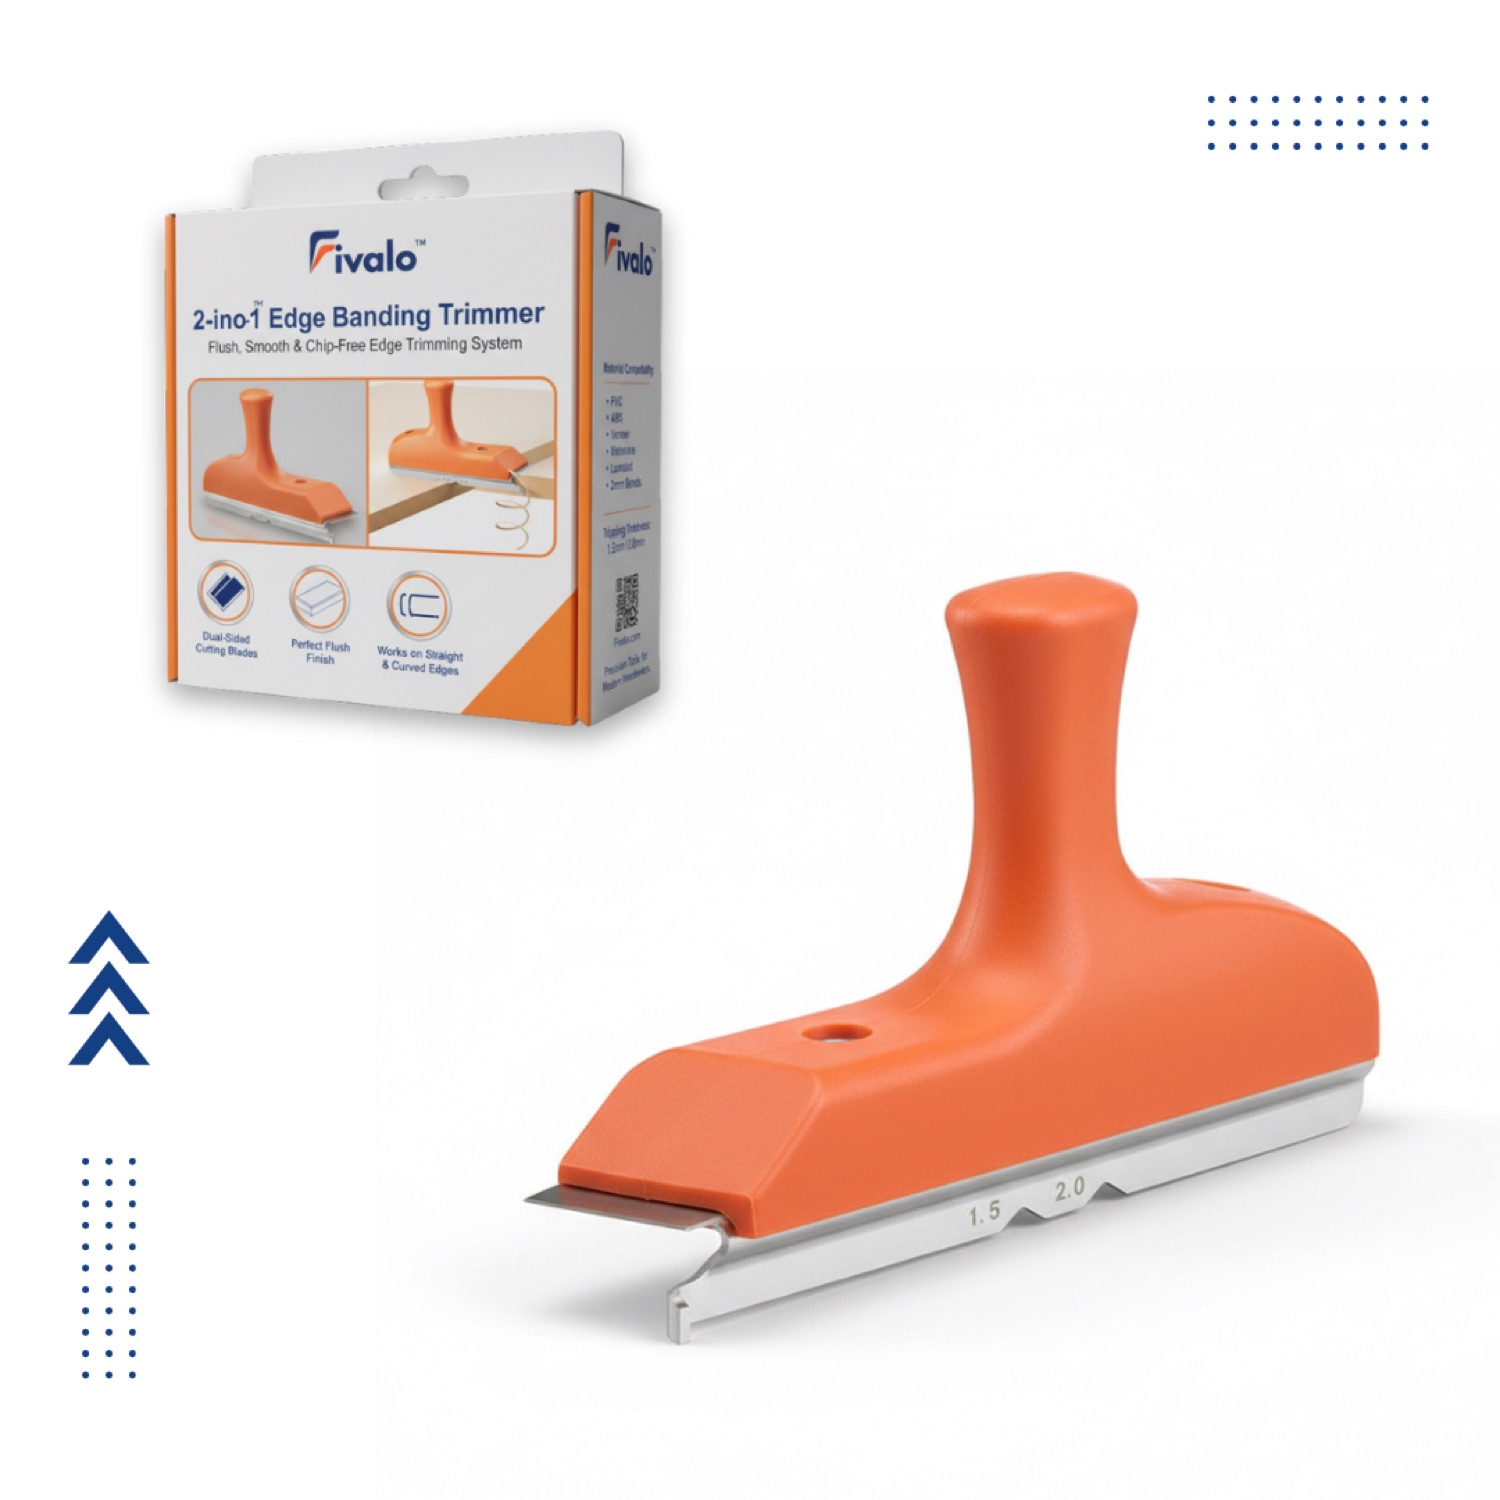
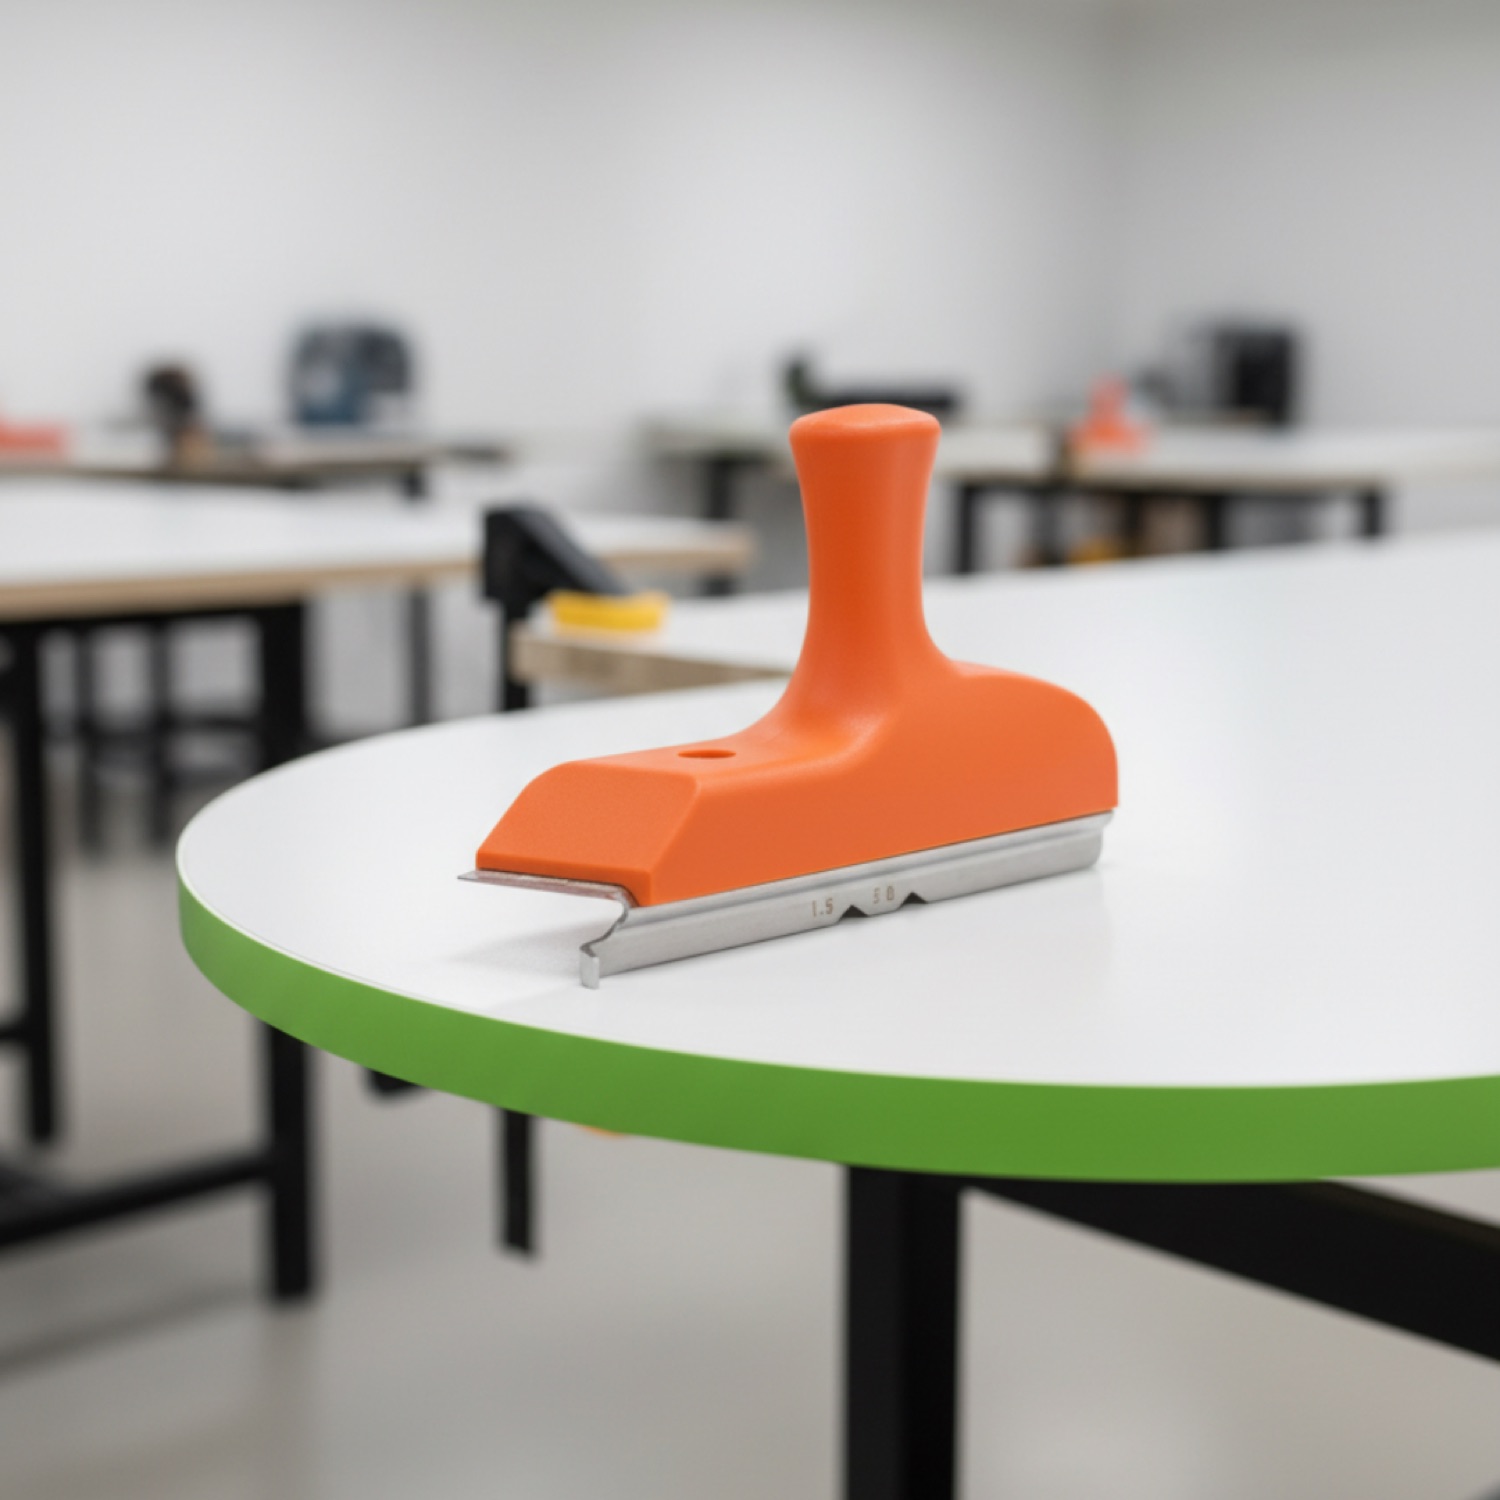



Official Store2-in-1 Edge Banding Trimmer

Kitchen cabinet refacing. Applied edge banding to 40 cabinet faces and this trimmer was the best investment I made on the whole job. Cuts clean and doesn't tear up the substrate.
2 weeks agoBuilt shelving from plywood and needed edge banding to hide the plies. This tool trimmed every edge flush without splintering. The two-blade design is genius.
3 weeks agoFurniture maker using this on drawer fronts for a customer order. It saves time and the quality is professional — no hand-sanding needed after.
4 weeks agoWorks well for the job. The depth control is important — once you dial it in you're good. Only wish the handle had a bit more grip texture for sweaty hands.
5 weeks agoEdge banding on MDF panels for built-in shelving. Tool cuts the tape flush and the back edge clean — no cleanup sanding. Paid for itself immediately.
3 weeks agoDIY wardrobe build from flat-pack components. Applied iron-on edge tape to all the exposed plywood and used this to trim it. Looks factory-finished.
6 weeks agoRefinishing old kitchen cabinets with new edge banding. This trimmer made the whole job feel professional. Clean cuts, no tear-out, and the price is fair.
2 weeks agoGood tool that does what it claims. Two blades work better than single-blade trimmers I've used before. Needs light maintenance to keep blades sharp but that's normal.
7 weeks agoEdge tape meets edge trimmer — one tool, two blades, zero waste
Two blades, one tool, zero overhang.
Trim edge banding clean on cabinet doors, shelves and drawer fronts without splitting.

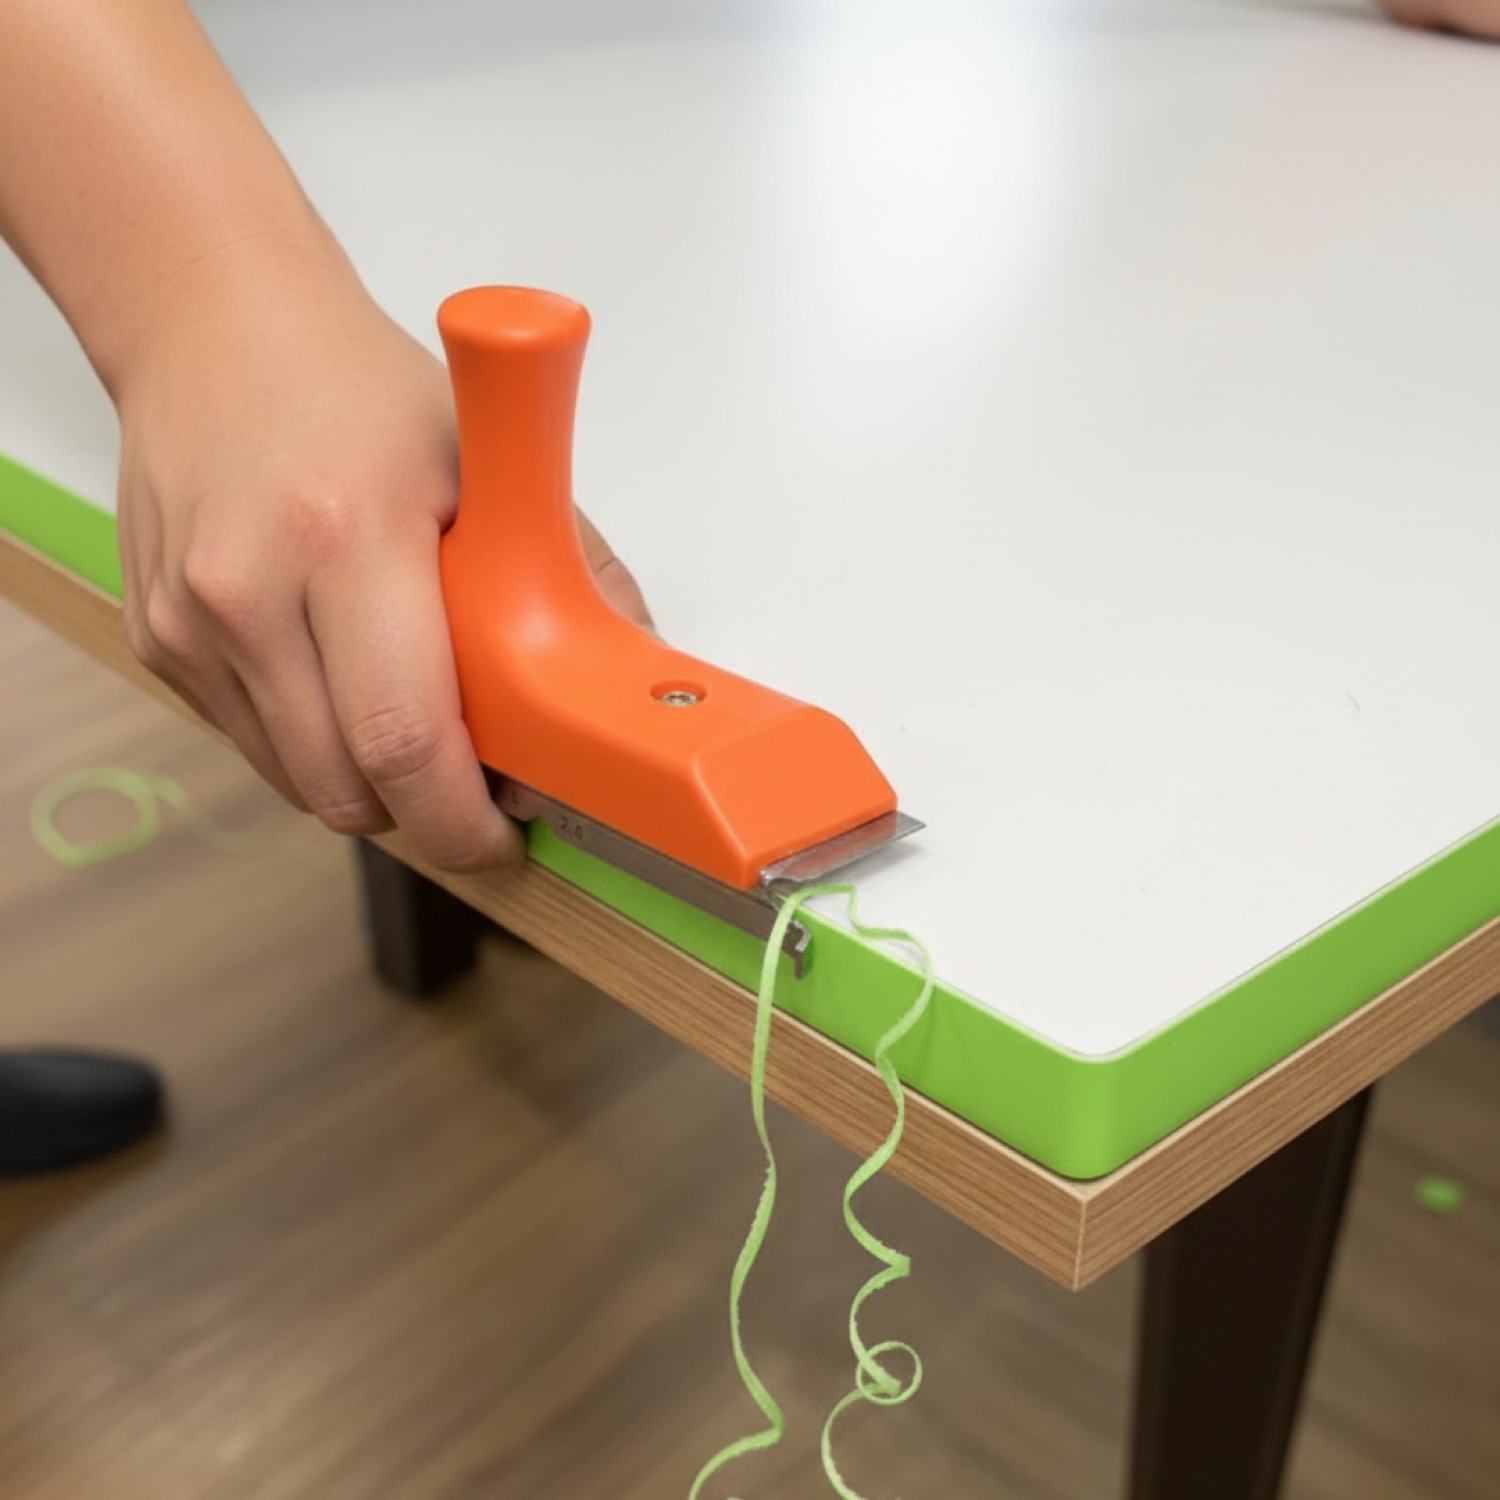
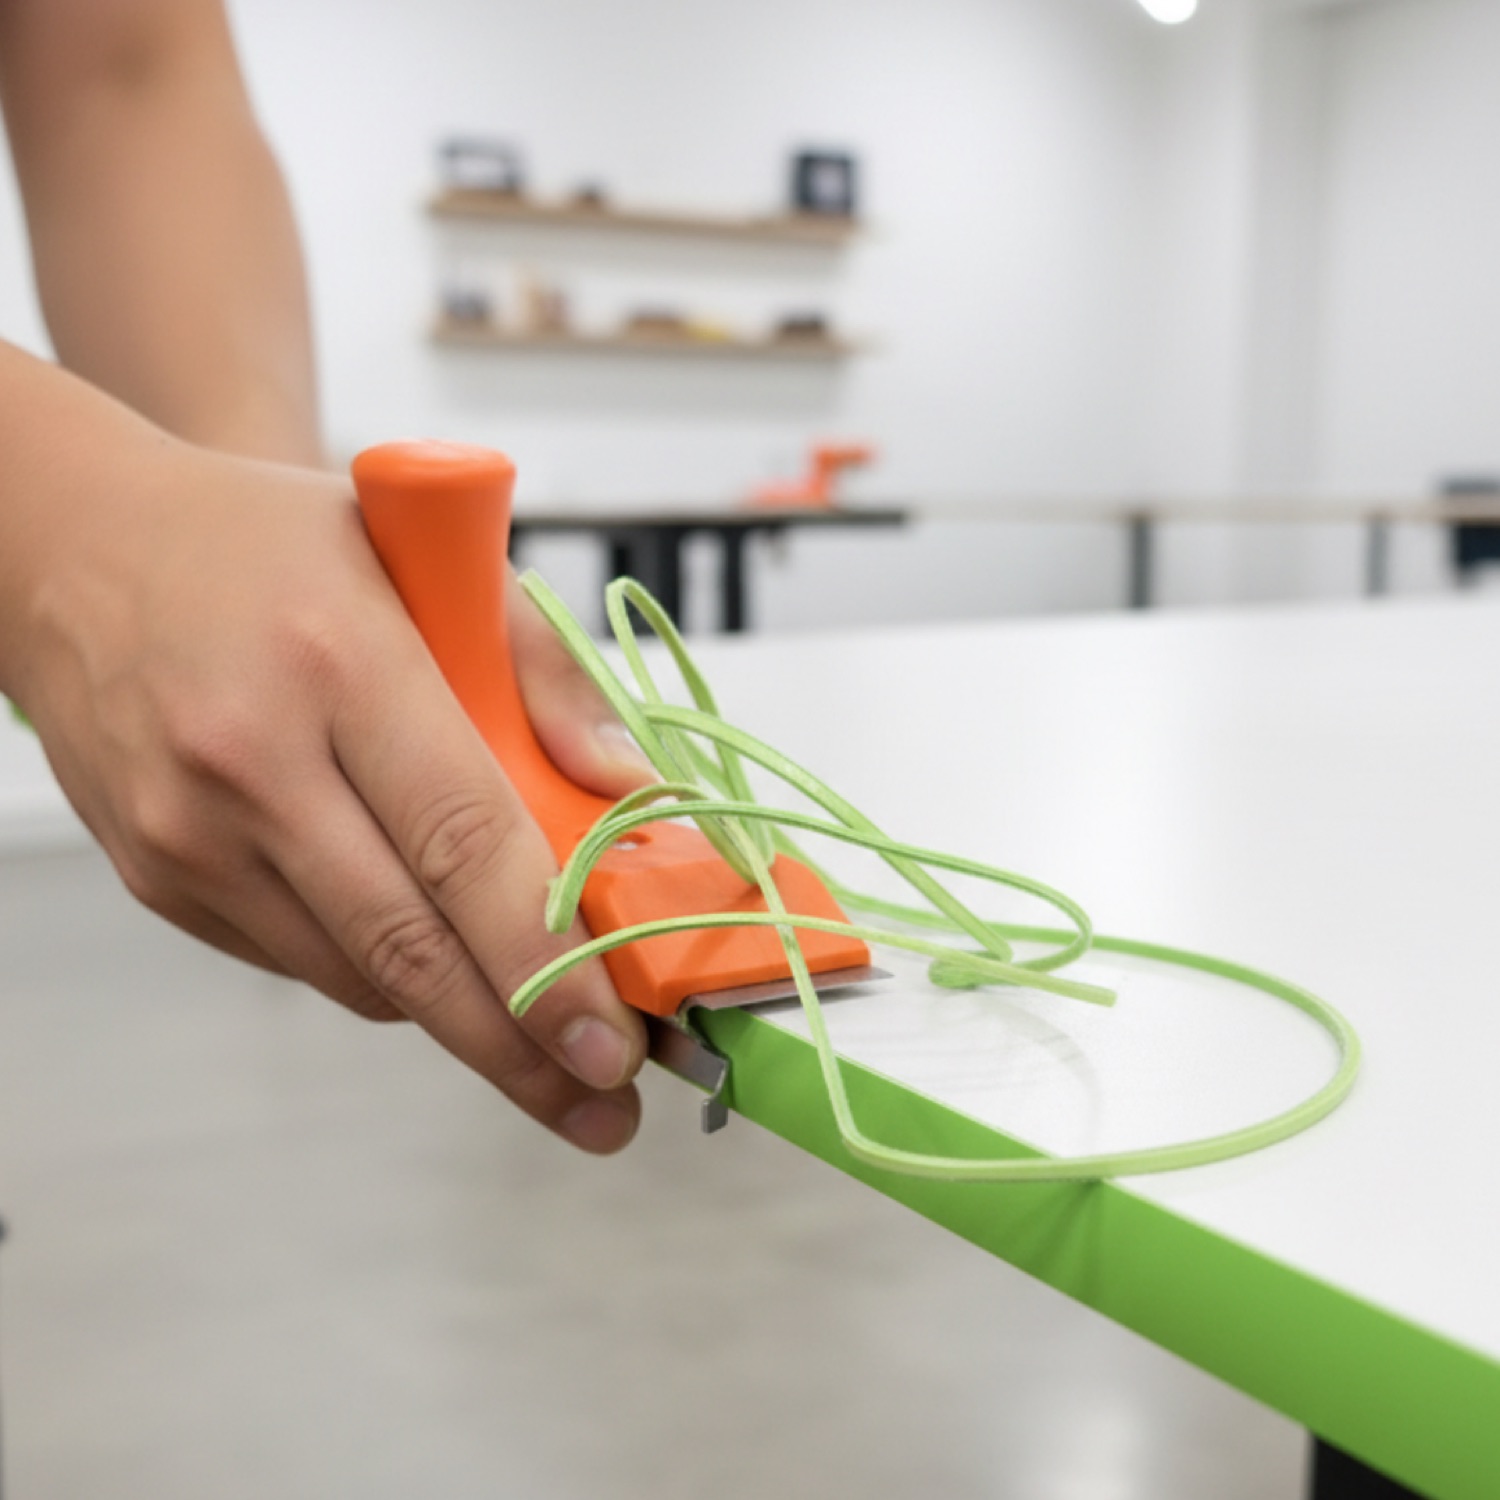
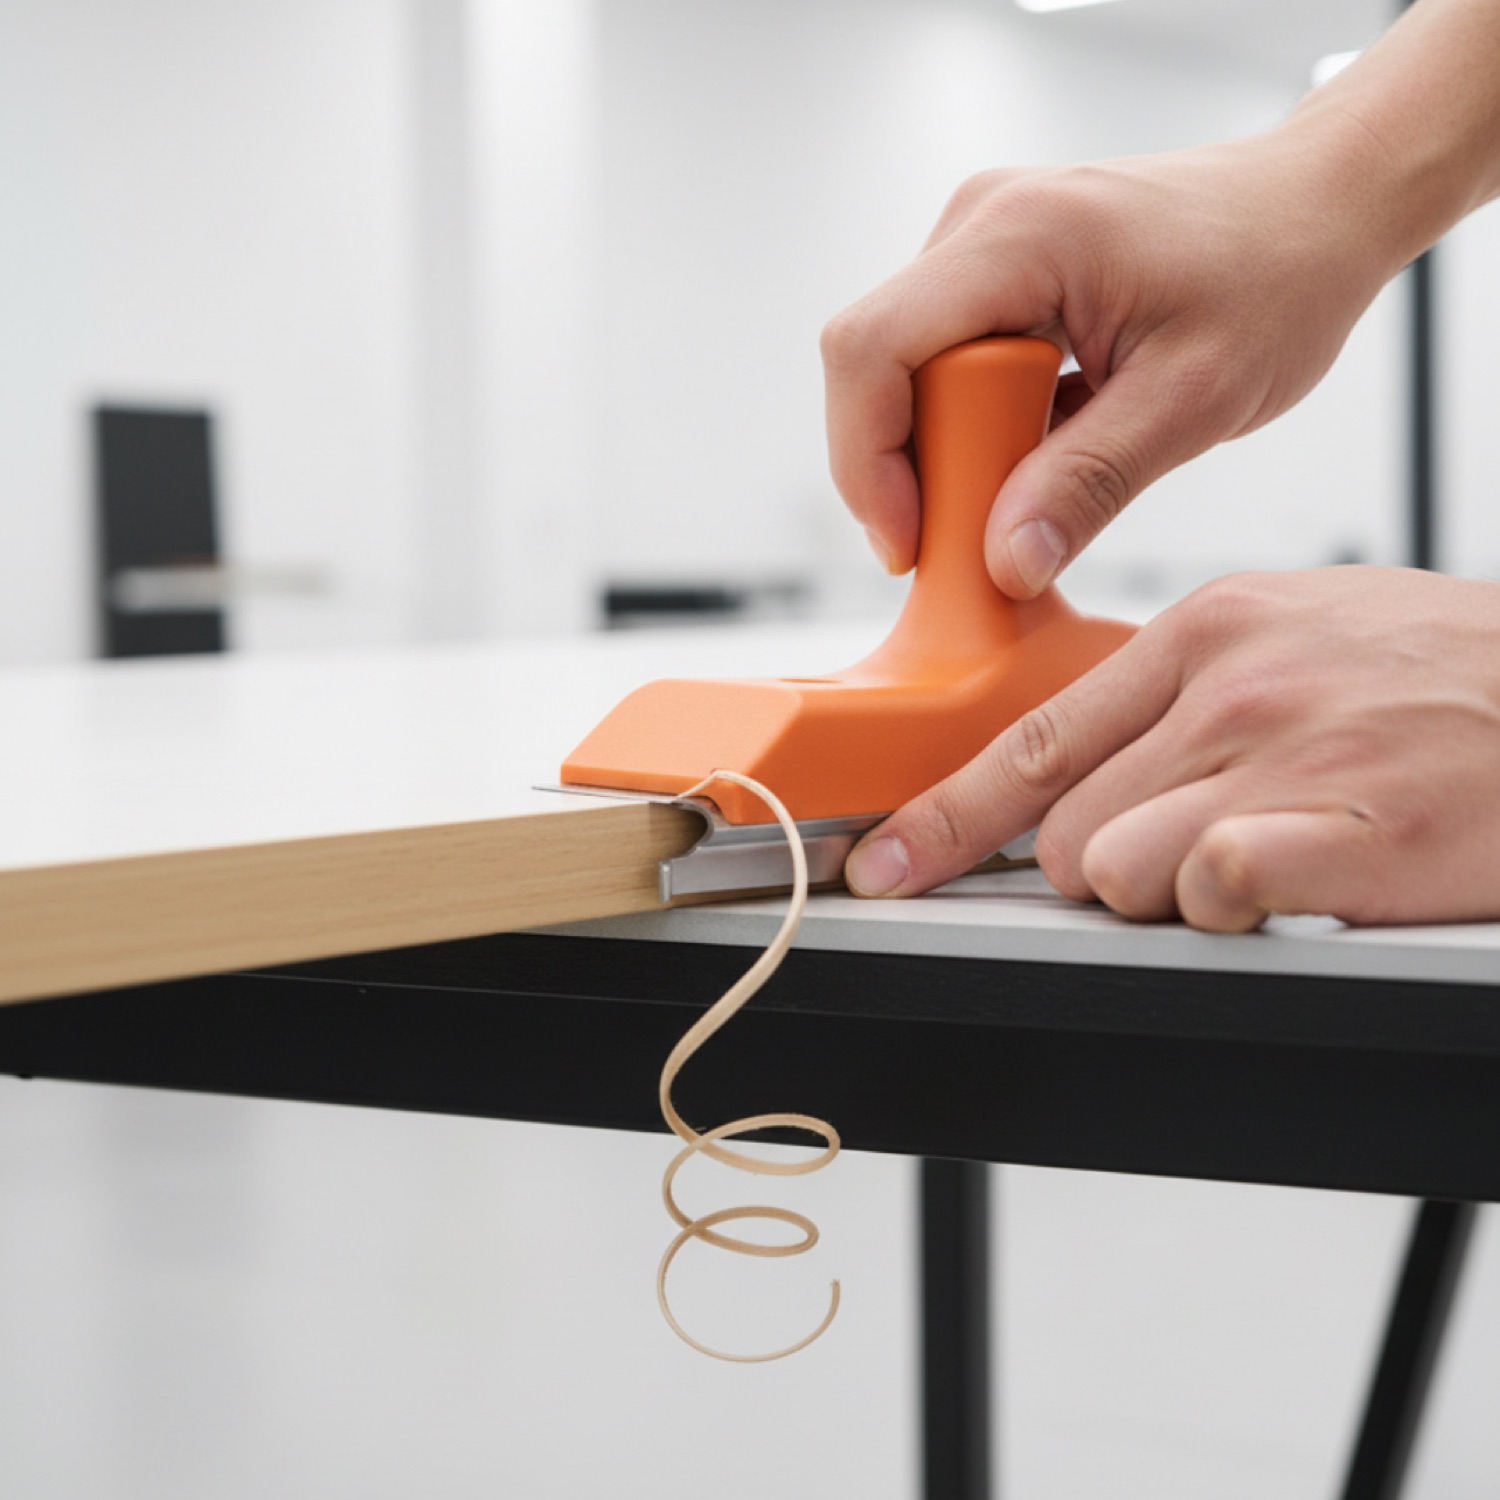
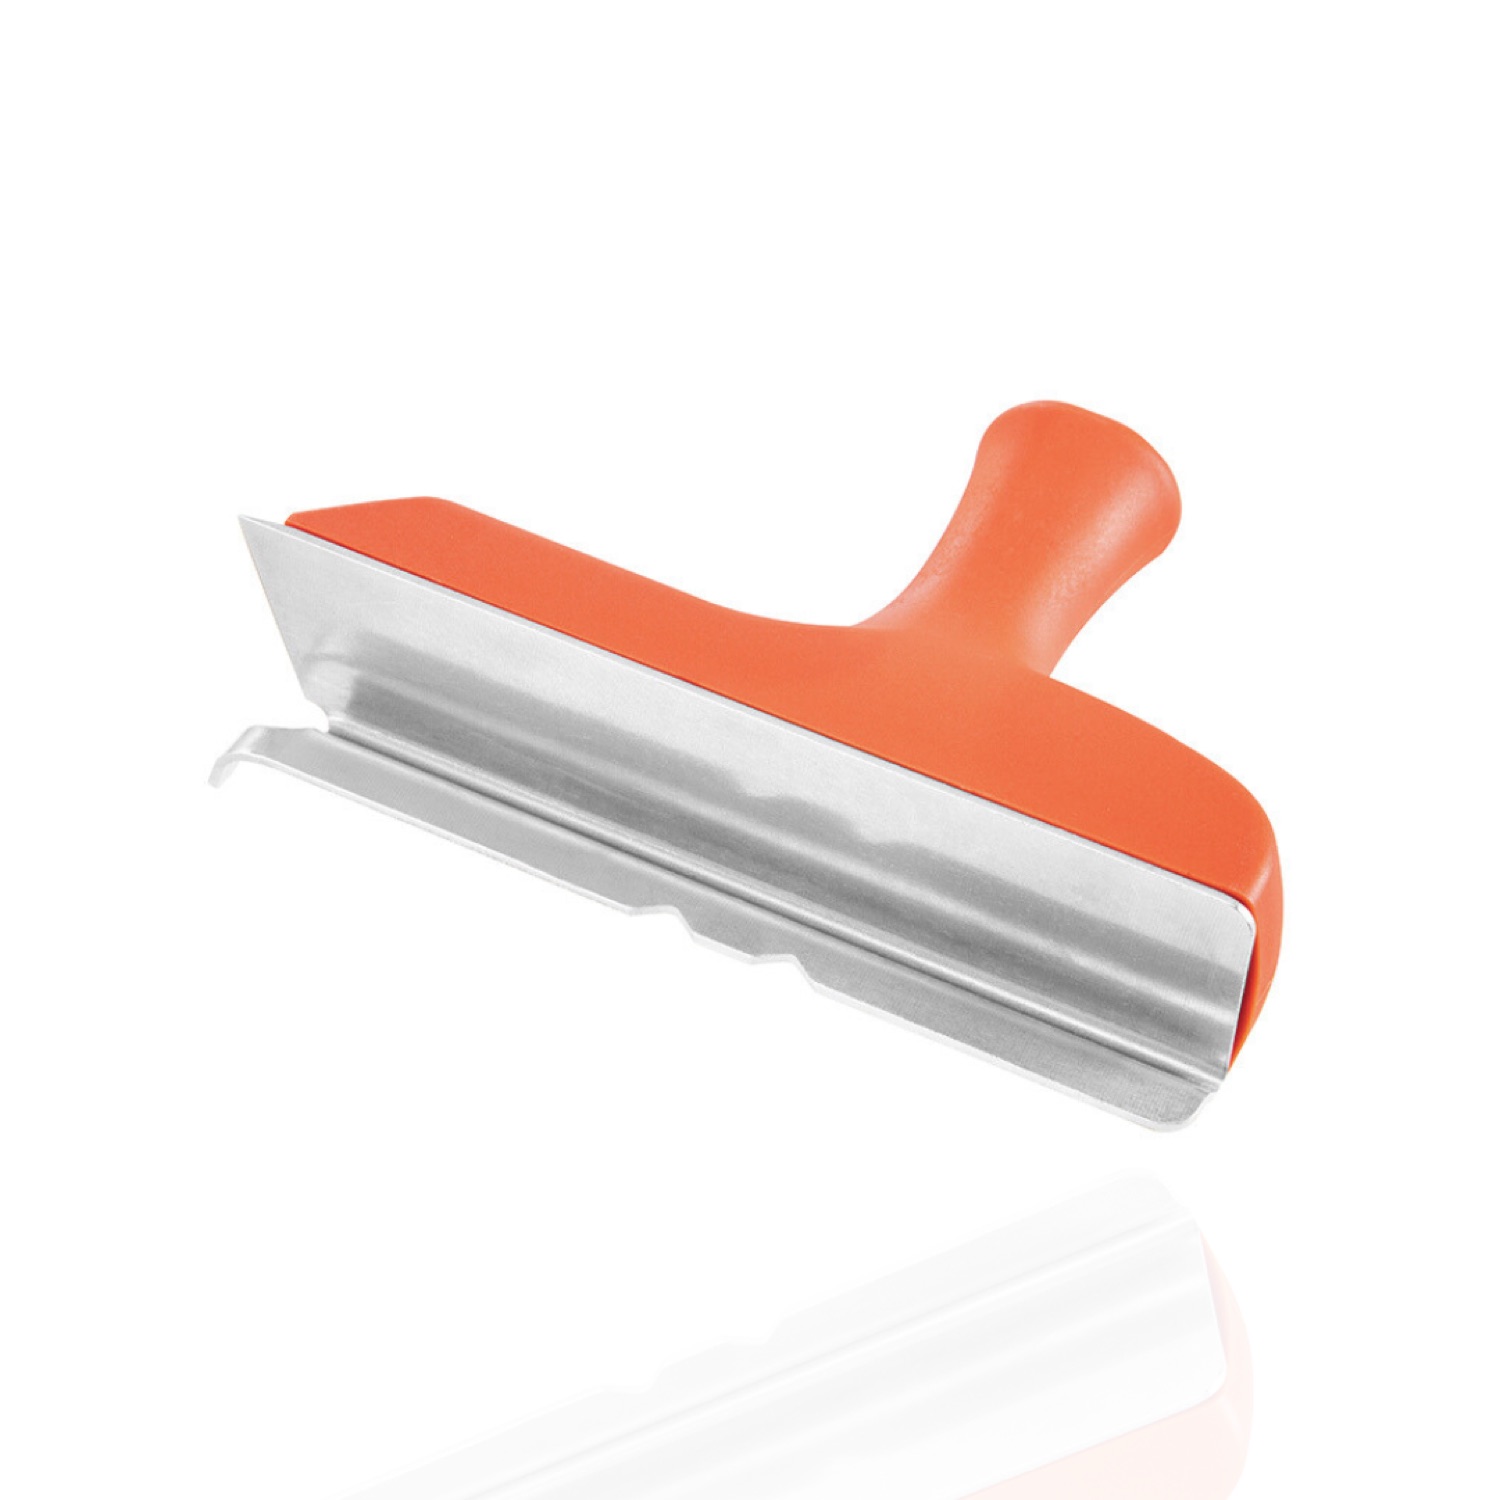
The two-blade design — one blade above the edge tape, one below — trims both sides simultaneously and leaves the tape perfectly flush with the substrate. No overhang, no sanding.
Single-blade trimmers risk splitting the tape or tearing the veneer. This tool's dual approach cuts cleanly without damage.


Apply edge banding to plywood, MDF or particleboard — cabinet doors, drawer fronts, shelving — and let this trimmer finish the job. The result looks factory-applied.
Precision depth adjustment ensures you're not cutting into the substrate. Once set, you can trim dozens of edges with the same clean result.

Refinacing cabinets, building shelving, or upholstering drawer fronts — any project with exposed plywood edges gets faster and looks better with this tool.
The ergonomic grip and lightweight design mean you can trim all day without hand fatigue.

1. Apply edge banding
Use iron-on or contact-cement edge tape on your plywood or MDF substrate. Let the adhesive set completely.
2. Position and adjust depth
Place the trimmer on the edge with the tape centered. Adjust the depth so the blades are just above and below the tape — no deeper.
3. Trim in one smooth stroke
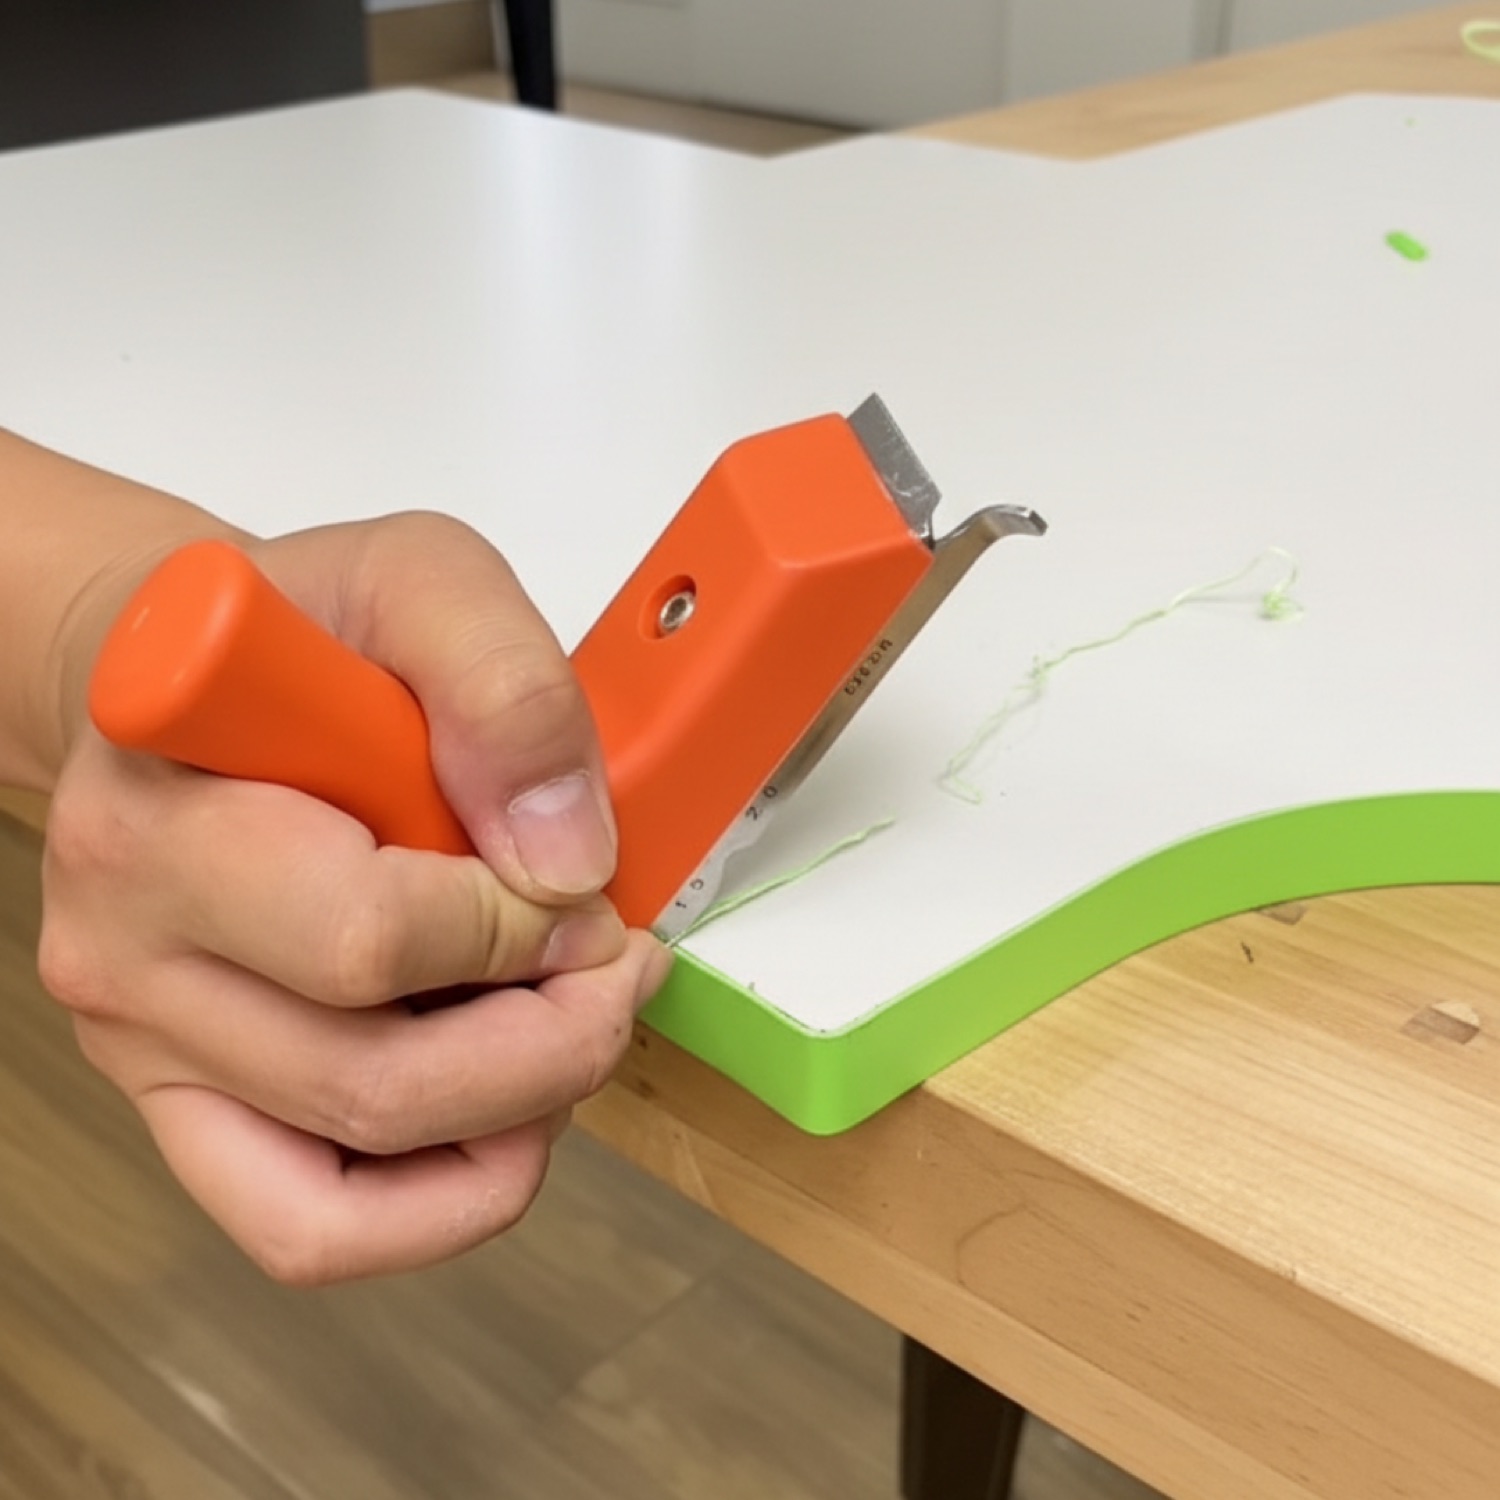
Push the trimmer along the edge in a steady motion. Both blades cut simultaneously and leave the tape flush.
Ready to trim out of the box — no assembly needed.

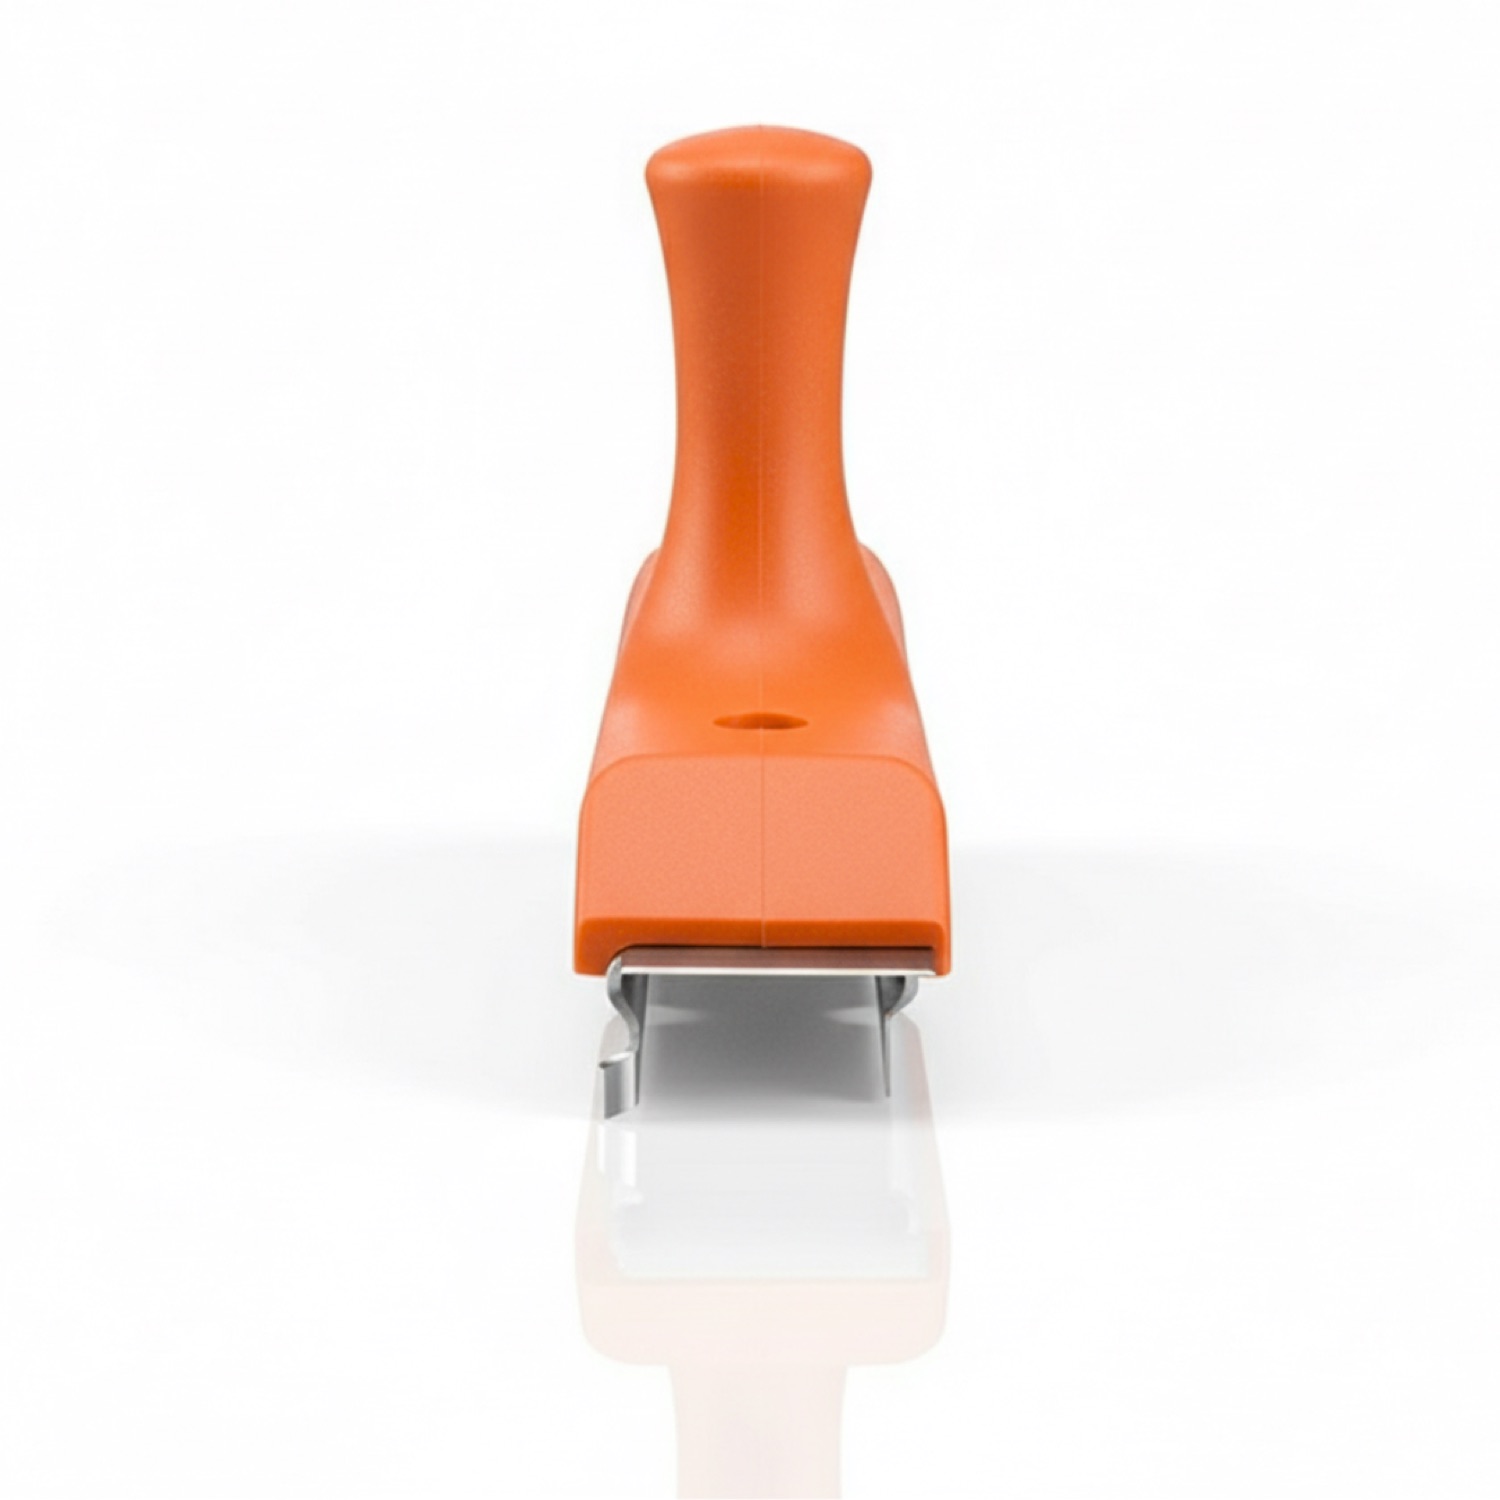
A tool with two cutting blades — one above and one below the edge tape — that trim both sides simultaneously for a flush finish without overhang or splitting.
Iron-on (heat-activated) and contact-cement edge banding on plywood, MDF and particleboard. Works with most standard widths.
Yes — cabinet doors, drawer fronts, shelving, and any exposed plywood or MDF edge where you want a factory-finished look.
The depth guide keeps the blades from cutting into the substrate. Set it so the top blade just kisses the top of the edge tape and the bottom blade just kisses the bottom — adjust until you cut only the tape.
No. The two-blade design cuts smoothly from both sides and the flush-trim approach prevents the splitting that can happen with single-blade trimmers.
Lightweight and ergonomic design — it won't tire your hand during long trimming sessions on big projects.